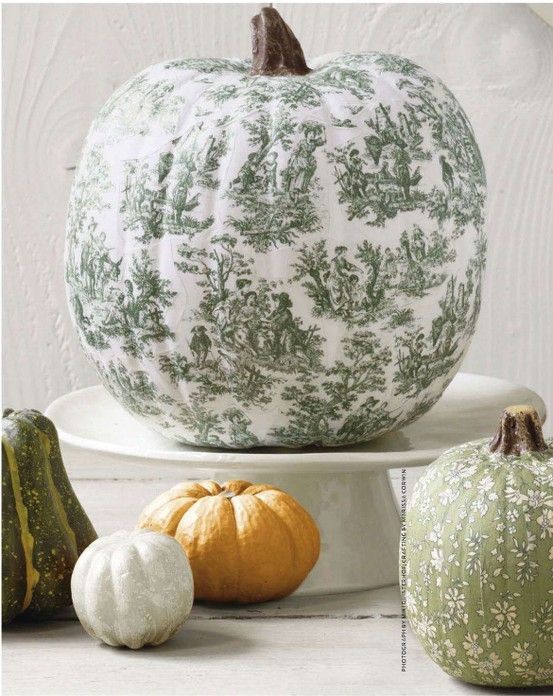
Pumpkin Decoupage Directions:
1. Cover your workspace with wax paper; then pour “Mod Podge Matte” all-in-one découpage sealer (Available at Michael’s.com) into a mixing bowl.
2. Using a narrow foam brush, spread an even coat of Mod Podge on the back of a printed or copied image.
3. Press the image onto your pumpkin (Faux Pumpkins available at pumpkinzone.com), smoothing out any air bubbles; repeat steps two and three for remaining images. Note: To make an image better fit the contours of the pumpkin, you may want to cut small slits at the top and/or bottom of the paper. When covering an entire pumpkin, it’s also helpful to suspend the gourd in a bowl and work on one half at a time (let dry for about 10 minutes before flipping to complete the other side).
4. Once all images have been applied, use a foam brush to spread a thin coat of “Mod Podge Matte” on the entire pumpkin. (Again, it’s helpful to suspend the pumpkin in a bowl and coat one half at a time; let dry for about 10 minutes before flipping to complete the other side.) Let dry for one hour, then repeat with a second coat to seal. Let dry for one full day. –Country Living Magazine


0 comments ↓
There are no comments yet...Kick things off by filling out the form below.
Leave a Comment